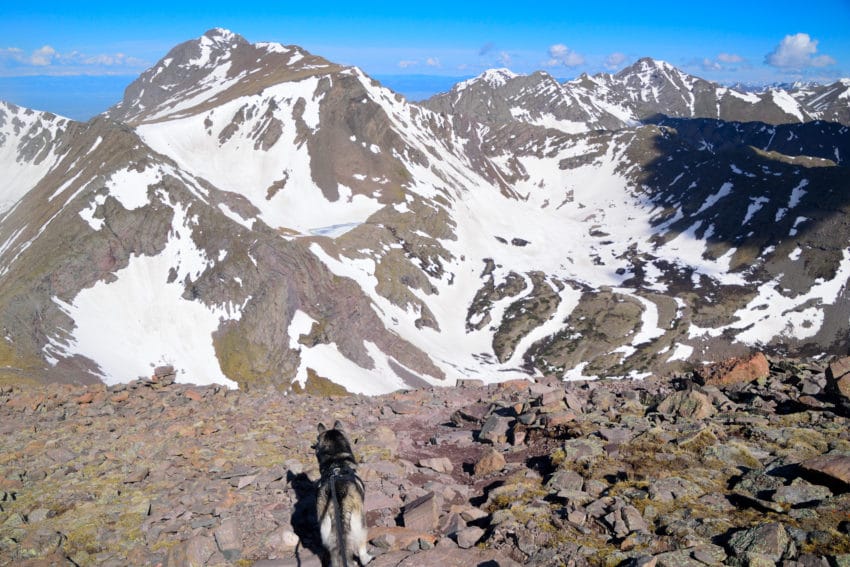
Humboldt Peak 14er Hike Trail Guide
Humboldt Peak is a “14er” located in the Sangre De Cristo Wilderness as part of the San Isabel range in southern Colorado. The hike up the summit is fairly straightforward, but the last 1-2 miles involve switchbacks and some minor rock scrambling (Class 2 at the highest). Humboldt Peak has a trail that is composed of packed dirt and a small boulder field towards the summit. Humboldt Peak is a good hike for beginner and intermediate hikers.
Humboldt Peak Quick Facts
Virtual Trail Guide: Humbodlt Peak
Humboldt Peak Trail Rating: ★★★ (⅗ Stars)
Distance: 11.56 miles RT from upper TH, 16.5 miles from lower TH
Elevation Start: 9,875 ft from upper TH, 8,700 ft from lower TH
Summit: 14,065 ft
Total Elevation Gain: 4,300 ft Lower TH, 5,300 ft lower TH
Estimated Time to Complete: 6-7 Hours RT Upper TH, 10-12 Hours RT Lower TH RT
Difficulty: Moderate to Difficult (depending on starting point) What does this mean?
Class: Class 2 – What does this mean?
Season: July – September
Directions to Humboldt Peak
Trailhead: South Colony Lakes
Getting Here (West Ridge-Via Old Colony Lakes TH)
There are multiple ways to summit Humboldt Peak, but this review focuses on the West Ridge (standard trail). Navigate to the town of Westcliffe, Colorado and take Colorado 69 south about 4.5 miles to Colfax Lane. Drive 5.5 miles until the road ends then take a right. Drive 1 mile to reach a fork in the road and continue straight up the dirt County Road 120. After 0.3 miles you will reach the lower parking area on your right. If you have a higher clearance AWD car or above, you can continue up CR 120 (South Colony Lake Road) for 2.6 miles to the upper parking area and trailhead. The road is extremely variable and has deteriorated in recent years. The trail starts next to the large sign and kiosk towards the back left side of the parking area. You can enter “Old South Colony Lakes Trailhead” into your favorite navigational device.
Parking: Humboldt Peak via the South Colony Lakes trailhead has 2 main parking areas: lower lot and upper lot. The lower lot is about 2.6 miles from the upper lot and can fit about 20 cars while the upper lot can probably fit 20 as well. To access the upper lot, you need to have a fairly high clearance car since CR 120 (South Colony Lakes Road) can be tricky once you drive past the lower parking area. I saw a Subaru Outback make it all the way up to the upper trailhead, but it did bottom out in one section towards the top. In either case, I would recommend a fairly high clearance AWD (or above) car to get to the upper parking area. Neither area has bathrooms, but parking is free in both lots.
Fees: None
Summary
Camping: You can camp near Humboldt Peak along County Road 119 (Colfax Lane) on the way up to the upper trailhead. If you prefer to hike in a bit, there are a ton of great camping spots along the trail about 1 or 2 miles from the upper parking area. There are limited camping spots near the upper parking area. I would only recommend them if you are in a pinch and need to get out of bad weather or are running out of daylight.
Dogs: Humboldt Peak is dog friendly, but the last ½ mile towards the summit might be tough on your pup. There are a few sections that involve some rock scrambling which might be hard for a small or inexperienced dog to make. Humboldt Peak does not have any regulations permitting dogs to come with you, but it would not be my first choice if your dog is not used to 14ers.
Make it a Loop: Humboldt Peak is an out and back, but there are several other peaks in the area including: Crestone Peak, Crestone Needle, Broken Hand Peak, etc. Many of these hikes are very difficult with higher class trails to the summit.
Trail X Factor: Mosquitoes
Colorado is generally bug free for most of the year. However, for a few weeks towards the end of June and beginning of July, mosquitoes take over many alpine portions of the state. The basin where Humboldt Peak is located is full of sitting water sources that breed thousands of mosquitoes every year. Once they move in, its downright awful. If you are planning on hiking this mountain during those months, come prepared with lots of bug spray, bug nets and patience.
Hike Tip(s): Start From Upper Trailhead & Trail Finding
Hiking Humboldt Peak from the lower trailhead is not something I would want to be involved with (A trip back to Humboldt in 2019 can confirm this, it is a much tougher hike). Bring a friend with a higher clearance car, get an Uber, ride your bike…just find a way to start your hike from the upper trailhead. If you have a beater seasoned car, I would attempt to make the drive up the upper trailhead but having good clearance is absolutely necessary since the road is in rough shape as of 2019. South Colony Lakes Road is narrow, but if you can make it up 1.5 miles or so, there are spots to pull off and camp, just make sure you are into national forest and not privately owned land.
If you plan on visiting Humboldt Peak in the spring or winter months, trail finding becomes very key from the trail split to the upper South Colony Lake. If you have not been in the area before, have a map or GPS to help navigate to the western slopes and saddle of Humboldt Peak or at least be familiar with the general direction to head.
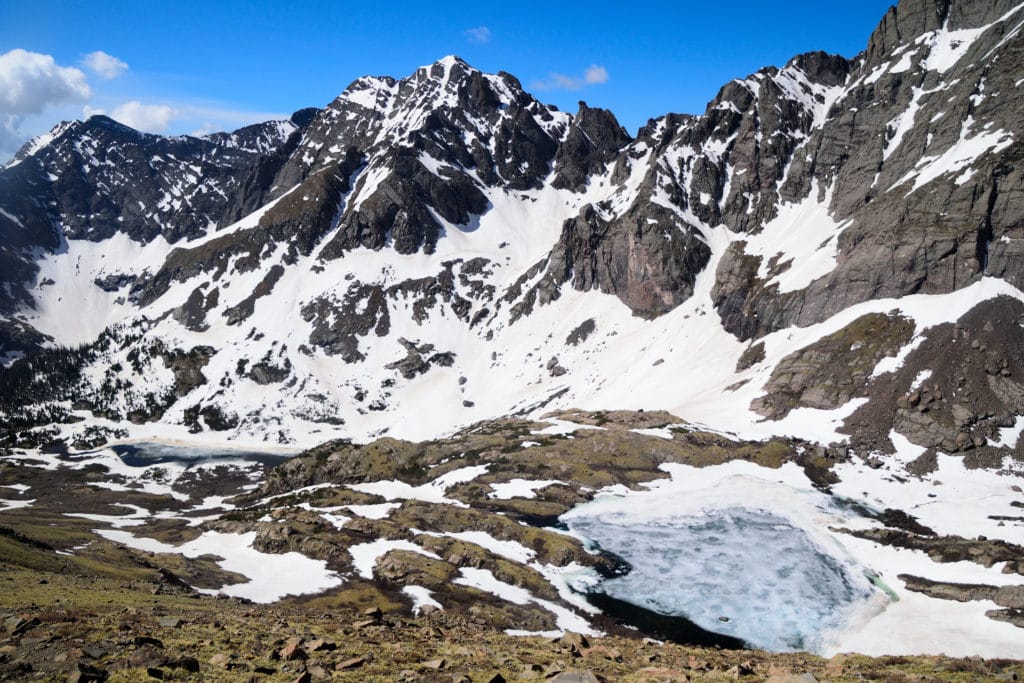
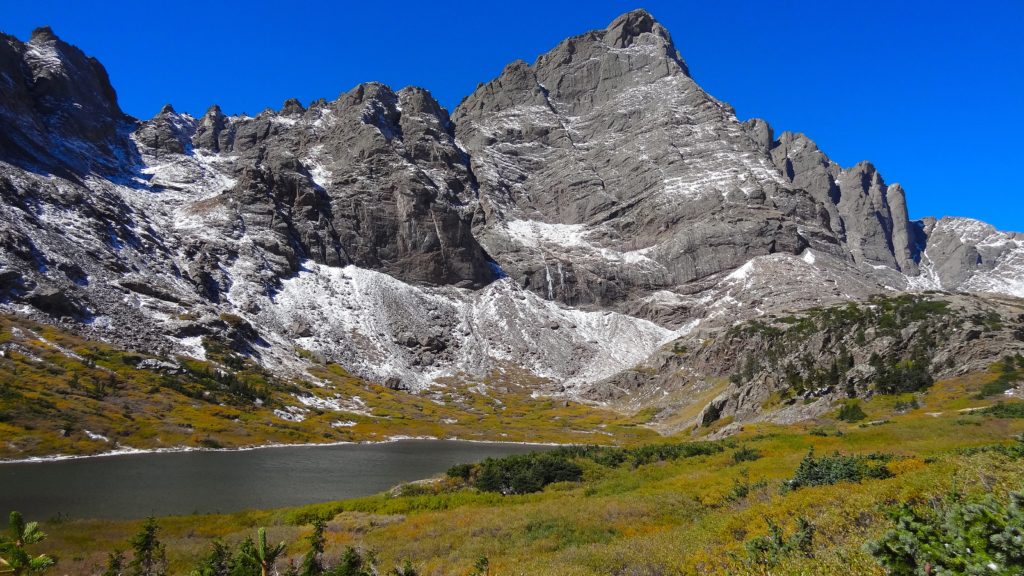
Best Views The route to Humboldt Peak takes you by the South Colony Lakes and Crestone Needle which are both fantastic spots to take photos. The Maroon Bells get a lot of credit for being one of the best landscape photos in Colorado, but I would put these views right up there with them. Needless to say, you will want to stop and snap some pictures here. Unfortunately, my first trip to the mountain I was using a combination of my iPhone 5 and digital camera because my DSRL was being repaired from a previous hike.
Humboldt Peak Route: West Ridge
Gear Needed
- Pack List for 14er Day Hike
- Men’s Trail Runners
- Women’s Trail Runners
- La Sportiva Trango Hiking Boots (Men’s)
- La Sportiva Trango Hiking Booths (Women’s)
- Backpack
- Food & Water
- Optional: Garmin inReach
- Optional: Hiking Poles
- Optional: Headlamp
- Optional: Garmin Fenix Watch
- *Links included in this description might be affiliate links. If you purchase a product or service with the links that I provide I may receive a small commission. There is no additional charge to you.
My Trip to Humboldt Peak: September 2016
*Note* My DSRL camera was being repaired for this hike so photos are not the highest quality.
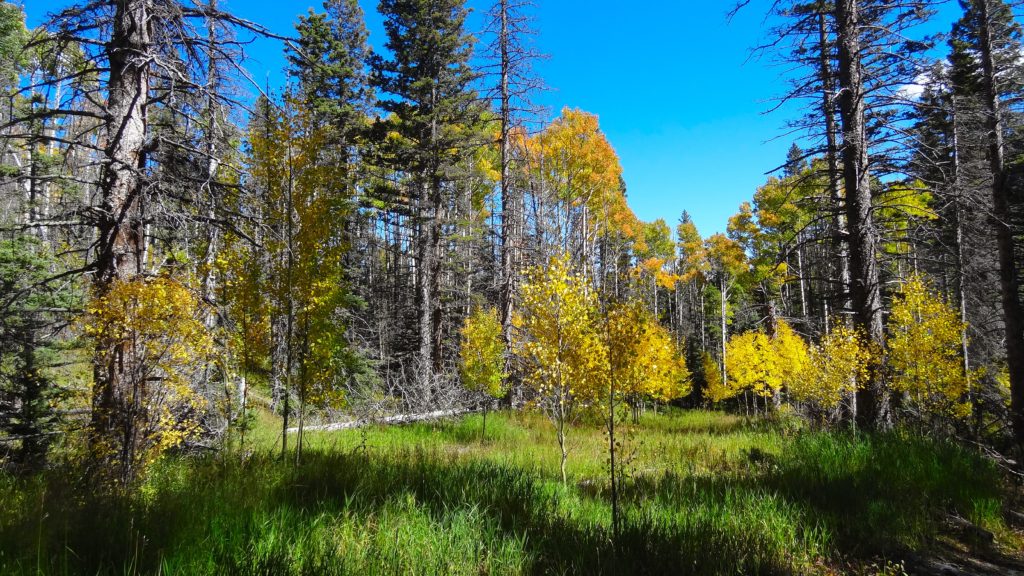
Winter in Colorado can literally appear overnight. When Jackie and I grabbed food in Westcliffe (shout out to Chappy’s Mountain View Bar & Grill -100% non-sponsored mention but the food is great), we noticed the clouds had completely enveloped the San Isabel range. As we drove up South Colony Lakes Road, it seemed that winter planned on meeting us at the trailhead. It was snowing sideways and when we finally parked the car, the ground was covered with an inch of snow. Our plan to hike up the trail and camp along the way was flushed down the toilet. Instead, we found the flattest area near the parking area, pitched a tent (Hey-Now) and hunkered down for the night.
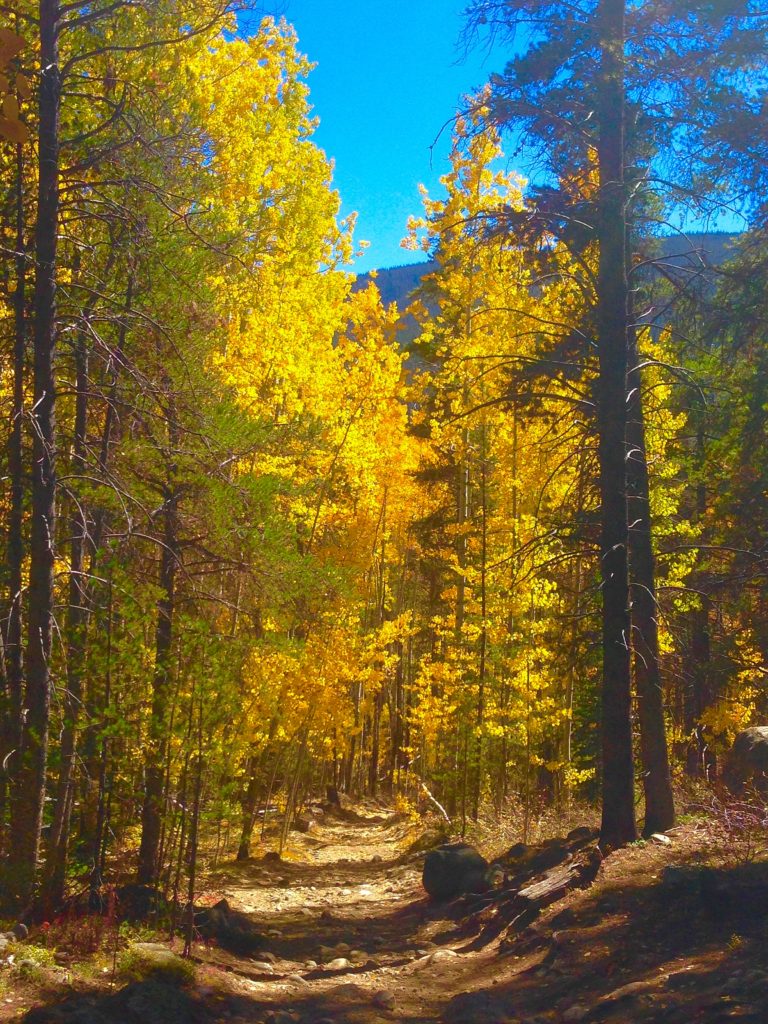
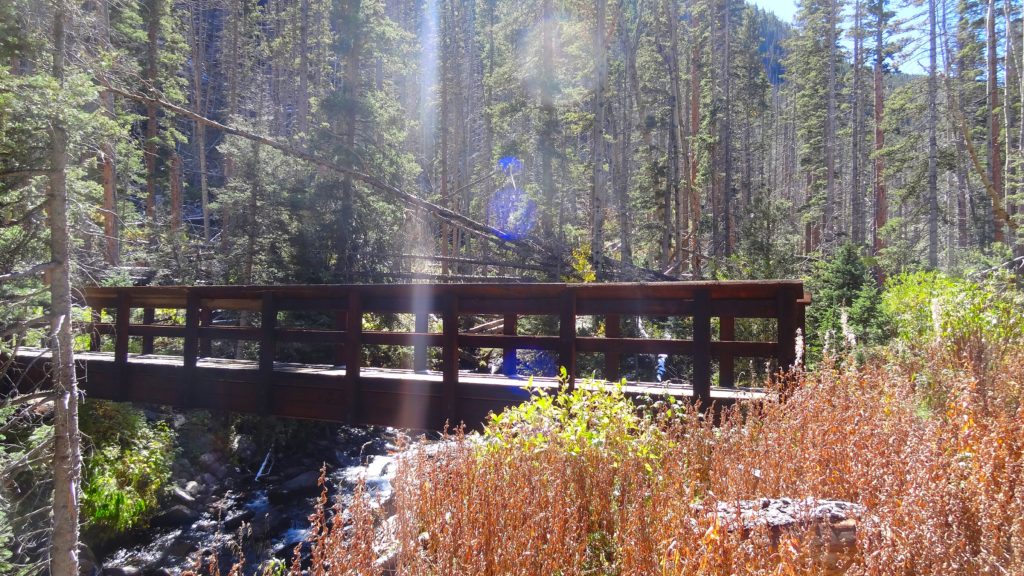
When I woke up at 4:30AM, the snow had stopped, but there was a fresh 2 or so inches blanketing the area. I left the tent, popped on my headlamp and hit the trail to Humboldt Peak. Each step I took crunched in the fresh snow and the white stuff seemed to put a mute button on every single sound in the forest. Crunch, crunch, crunch, I made my through the forest along the old 4×4 road. The first 2.5 miles or so were very easy minus the snow and some slippery patches of ice. At about 2.6 miles I reached a trail junction. The trail to the left led up to Broken Hand Pass and Peak while the trail to the right directed hikers to Humboldt Peak, Crestone Needle, and the South Colony Lakes. I took a right and continued on towards the lakes and Humboldt Peak was visible for the first time today.
The sun was rising and provided an unbelievable view of Crestone Needle in front of me. I had planned to hike this monster, but fresh snow and Class 4/5 hiking was not a combination I wanted to take part of. Instead, I enjoyed the stunning views and fueled my body with some breakfast. I made my way past the lower and upper Colony Lakes and saw the trail up to Humboldt Peak in front of me. During the next mile or so, the trail snaked its way up to the Humboldt Peak ridge working its way up several packed dirt switchbacks.
Once I reached the ridge, the wind began to pick up and the crisp fall breeze turned into cold winter air in a matter of minutes. As I worked my way up from the saddle towards the summit of Humboldt Peak, I was grateful for the pair of hikers in front of me who were breaking trail. The snow made it tricky to follow the packed dirt trail, especially through the boulder field I had entered. There were several spots that involved some minor boulder hopping and I was glad I left Juno in the tent to keep Jackie warm. As I neared the summit, I entered a random flat field which was a surprising sight, even though I knew it was coming from my research of the mountain beforehand. I quickly made my way across the field and reached the true summit of Humboldt Peak a few minutes later. The total distance to the summit was 5.83 miles which took me about 3 hours and 48 minutes.
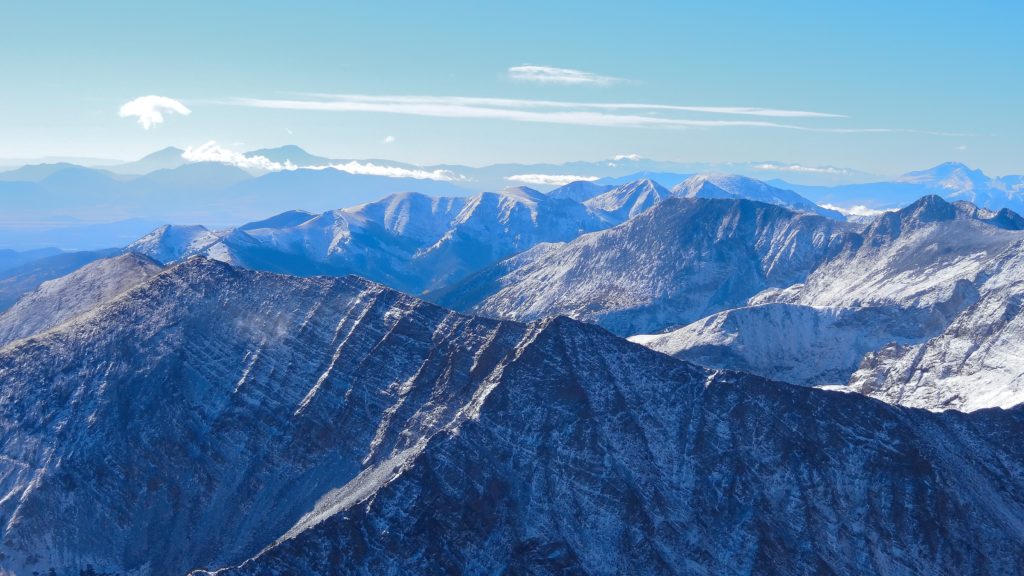
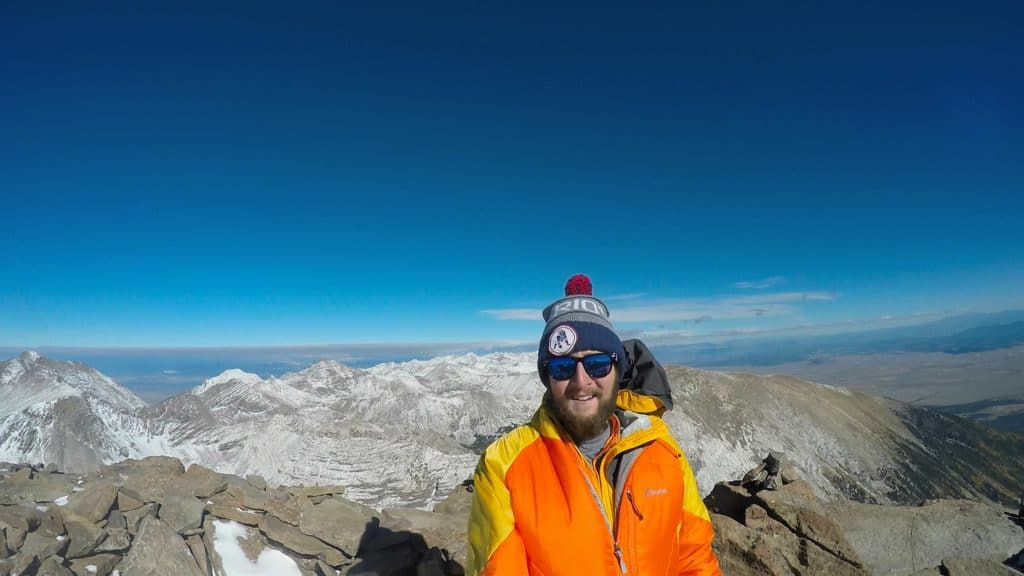
The summit of Humboldt Peak provided stunning views down into WestCliffe and the plains of the east and snow covered peaks of the Sangre De Cristo range to the north and west. I was the only person on the summit which was quite serene, but it made my summit photo rather difficult. I was without my DSRL camera so I had to resort to the GoPro and digital camera selfies. I took off my gloves for 15 seconds to adjust the GoPro and my hands were instantly numb. I turned on my GoPro to take some video and the camera instantly died due to the cold. Neat! I popped in a new battery and quickly did a 360 view of the summit with a few selfies peppered in. The cold at this point was eating through all of my clothing and I wanted to get out of the wind ASAP. I quickly packed up my bag and put on my winter gloves to warm my now completely numb hands.
The hike down from the summit was very quick and made it feel like I was entering a totally different state. No less than an hour later, I had taken off both of my jackets, rolled up my pants and was dripping sweat from the hot sun. It always amazes me how different the summit weather can be from the bottom of the mountain and Humboldt Peak was no different. The beautiful white blanket of snow that had covered the ground that morning was replaced with pockets of fresh mud. After a few miles of hiking solo, I ran into Juno and Jackie, who were making their way back down to the car after a morning hike of their own. Juno acted like she had never seen me before and Jackie informed me the dog had a successful morning of chasing deer and sniffing poop. We headed down the trail together and were back at the upper parking lot soon after.
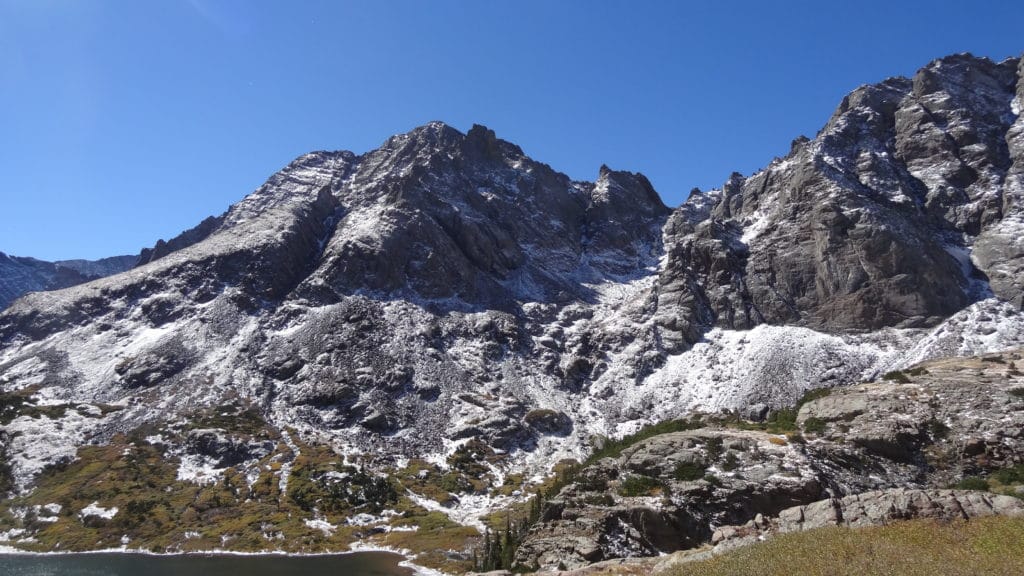
Humboldt Peak was a reasonably moderate hike (from the upper trailhead) that offered some stunning views of Crestone Needle and some of the other gnarly looking mountains in the area. I will be back to South Colony trailhead to conquer Crestone Needle and Crestone Peak, but was very grateful to cross Humboldt Peak off the list.

One thought on “Humboldt Peak 14er Hike Trail Guide”