Mt Harvard & Mt Columbia 14er Hike Trail Guide
Mt Harvard & Mt Columbia are a pair of 14ers located near the north side of the Collegiate Peaks outside of Buena Vista. These mountains can be hiked by themselves or together via a ridge traverse. The popular traverse involves some scrambling near the top of Mt Harvard, but the most difficult section of this hike is the traverse in between Mt Harvard & Mt Columbia. The trail up Mt Harvard is composed mostly of packed dirt with some class 2 scrambling towards the top. The traverse of Mt Harvard & Mt Columbia is a mixture of boulder fields, packed dirt and bad trail conditions (loose rock/dirt etc.) with some class 2 scrambling mixed in.
Mt Harvard & Mt Columbia Quick Facts
Virtual Trail Guide: Mt Harvard & Mt Columbia
Mt Harvard Trail Rating: ★★★ (3/5 Stars)
Mt Columbia Trail Rating: ★★ (2/5 Stars)
Distance: 16 miles RT (6.87 miles to Mt Harvard, 3.18 miles to Mt Columbia, 6 Miles to TH)
Elevation Start: 9,909 ft
Highest Point: Mt Harvard: 14,423 ft Mt Columbia: 14,079 ft
Total Elevation Gain: 5,800 ft
Estimated Time to Complete: 10-11 Hours (4 Hours to Mt Harvard, 4 Hours to Mt Columbia, 2 Hours to TH) *NOTE: The Traverse is going to take you a lot more time then you expect. The trail is very hard to follow and will force you to constantly look at a map or landmarks if you are not familiar with the area. In addition, trail conditions are very loose.
Difficulty: Moderate to Difficult What does this mean?
Class: Class 2 – What Does This Mean?
Season: July – September (Expect snow outside of this range)
Directions to Mt Harvard & Mt Columbia
Trailhead: North Cottonwood Creek trailhead
Getting Here: If you plan on hiking the Mt Harvard & Mt Columbia traverse, the most popular way is to start up the southwest slopes of Harvard. To start your hike, you will want to head to the North Cottonwood Creek TH. First navigate to Buena Vista, Colorado. Once near the center of town, take County Road 350 (Crossman Ave) for about 2 miles, then take a right onto CR 361. Stay on this road for about a mile until you reach CR 365 on your left. Follow this dirt road for about 5 miles until you reach the TH. The road is usually in pretty good condition so most cars will make it to the TH no problem. The trail to Mt Harvard & Mt Columbia starts at the south end of the parking lot. You can enter “North Cottonwood Trailhead” into your favorite navigational device.
Parking: There is a free parking lot at the North Cottonwood Trailhead which can fit about 30 cars or so. While there are no bathrooms at this trailhead, if you need to go, you can drive about 3 minutes down the road to another trailhead with non-plumbing bathrooms. If you have a low clearance car, avoid following the signs to the right side of the parking lot, instead, stay left and loop around if necessary.
Summary
Dogs: Dogs are allowed on both Mt Harvard and Mt Columbia and if you plan on doing either peak separately, bringing a dog is an option. However, neither peak is “easy” for a dog because of the poor terrain and rock scrambling. If you plan on hiking both Mt Harvard and Mt Columbia, do everyone a favor and leave your dog at home. The traverse from Mt Harvard to Mt Columbia is tough enough for a human, don’t drag your pet through this hike.
Camping: Mt Harvard and Mt Columbia offer limited camping along County Road 365 on the way to the trailhead. Once at the trailhead, there are plenty of spaces to camp as well. If you want to hike in a bit, there is a great field about 3 miles in with several good spots to camp and a water source nearby.
Make it a Loop: This trail is a loop, whoo! Trust me, after completing this loop, you will not want to do any more hiking that day.
X Factor: Route Finding
Neither Mt Harvard or Mt Columbia are technically challenging hikes (Class 2 at the highest). However, if you decide to attempt the Mt Harvard & Mt Columbia traverse, your navigation skills will be tested in addition to your footing. If you are able to navigate through the traverse and stay on trail, the hike will be long but not too bad. If you stray off trail and do not constantly pay attention to your landmarks, trail ahead of you and where you need to head next, this traverse can be a long, miserable afternoon. Regardless of whether you are able to stay on the trail or not, you need to use common sense when hiking this loop and descending down Mt Harvard to begin the hike over to Mt Columbia.
Hike Tip(s): If you plan on hiking both Mt Harvard & Mt Columbia, I have a lot of tips for you:
- On the traverse, follow the trail as best as you can. If you stray off course, the hike can become a lot harder and longer (that’s what she said) very quickly.
- When you are navigating from Mt Harvard to Mt Columbia on the left (east) side of the ridge, try to avoid the steep gully (you will know what I am talking about when you see it) and try to avoid going too low. If you descend below 10,100 feet, you have gone too low and will need to regain all of that lost elevation for practically no reason at all.
- Once you have descended into the gully, there is no “official” trail from the bottom of the gully to the summit of Mt Columbia, so do your best to find the path of least resistance and try to stay as straight as possible. I have included several pictures below that show the path I would recommend and also check out my GPX tracks above for a general direction.
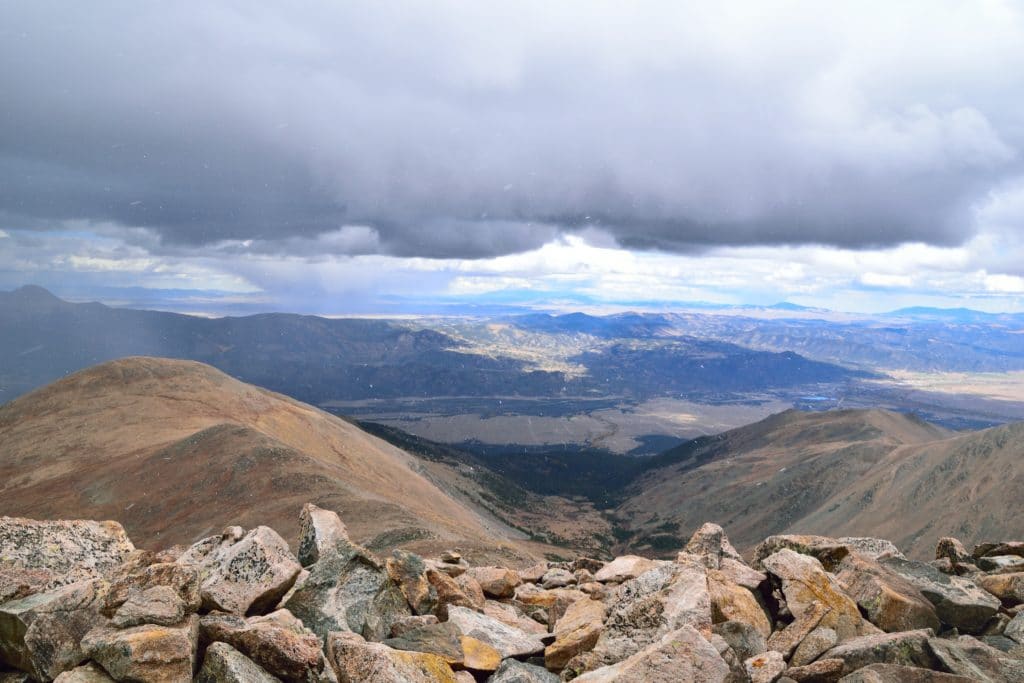
Best Views: On the approach to Mt Harvard & Mt Columbia, you will enter Horn Fork Basin which provides outstanding views of the entire area including Mt Yale to your south. In my opinion, Mt Harvard has far better summit views than Mt Columbia, but Columbia does provide a picturesque view of Harvard behind you. My first time hiking this, I thought the views were just okay, but on the second time around, I realized this truly is a beautiful hike.
Mt Harvard & Mt Columbia Hike Route
Mt Harvard – Traverse – Descent From Mt Columbia
Gear Needed
- 14er Day Hike Packing List
- Men’s Trail Runners
- Women’s Trail Runners
- La Sportiva Trango Hiking Boots (Men’s)
- La Sportiva Trango Hiking Booths (Women’s)
- Backpack
- Food & Water
- Optional: Climbing Helmet
- Optional: Garmin inReach
- Optional: Hiking Poles
- Optional: Headlamp
- Optional: Garmin Fenix Watch
- Optional: Camera and Lens
- Optional: GoPro, Joby Tripod
- *Links included in this description might be affiliate links. If you purchase a product or service with the links that I provide I may receive a small commission. There is no additional charge to you.
My Trip to Mt Harvard & Mt Columbia: October 2016
*Please note that as of 2020 there have been SIGNIFICANT trail improvements to Mt Columbia that make some of this trip recap irrelevant.
Mt Harvard
When October arrives in Colorado it generally signifies the start of fall and end of the summer hiking season. The cooler fall weather changes all of the leaves to vibrant gold and bright orange but it also brings snow (sometimes overnight) to the high country and what one day was a dirt trail, is suddenly a snow covered mountainside. Lucky for me, my trip to Mt Harvard & Mt Columbia did not bring snow and when I arrived to the trailhead around 5:30AM on a Saturday morning, the delayed sunrise left a sky full of bright stars. It was pretty chilly out, but I loved being able to start “later” and still have the night sky above me.
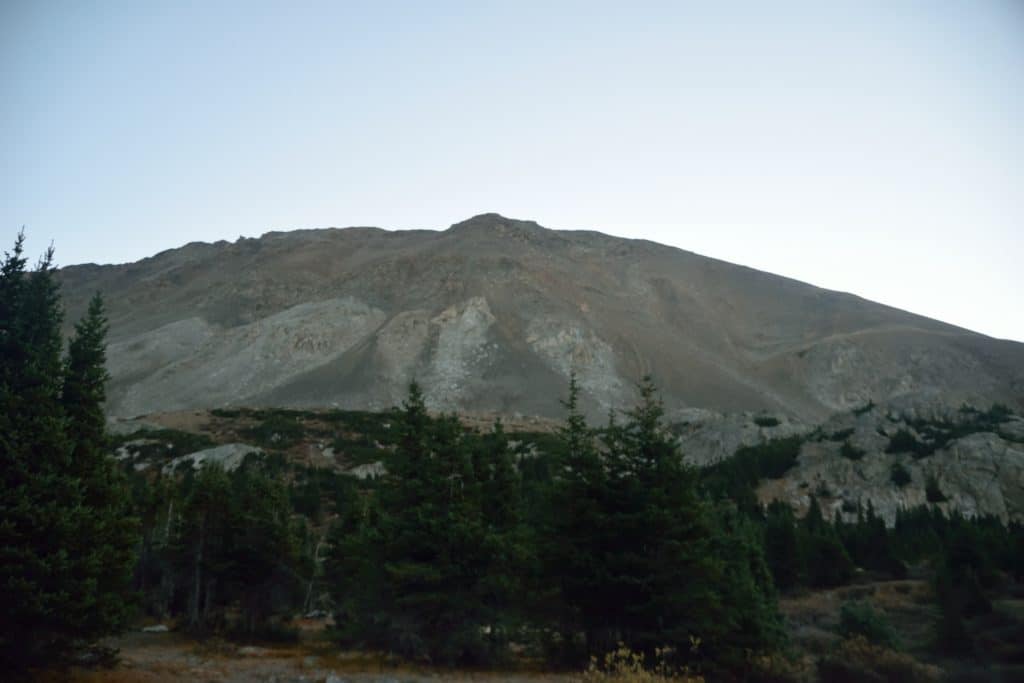
When I parked my car, I was the only person in sight, but there were several other cars in the parking lot. I assumed that most of these people were either on the trail already or camping somewhere in the area. Whatever the case, my usual “park and hit the trail” routine was a bit more delayed. It was pretty cold (30 degrees Fahrenheit) and I was just a bit sluggish.
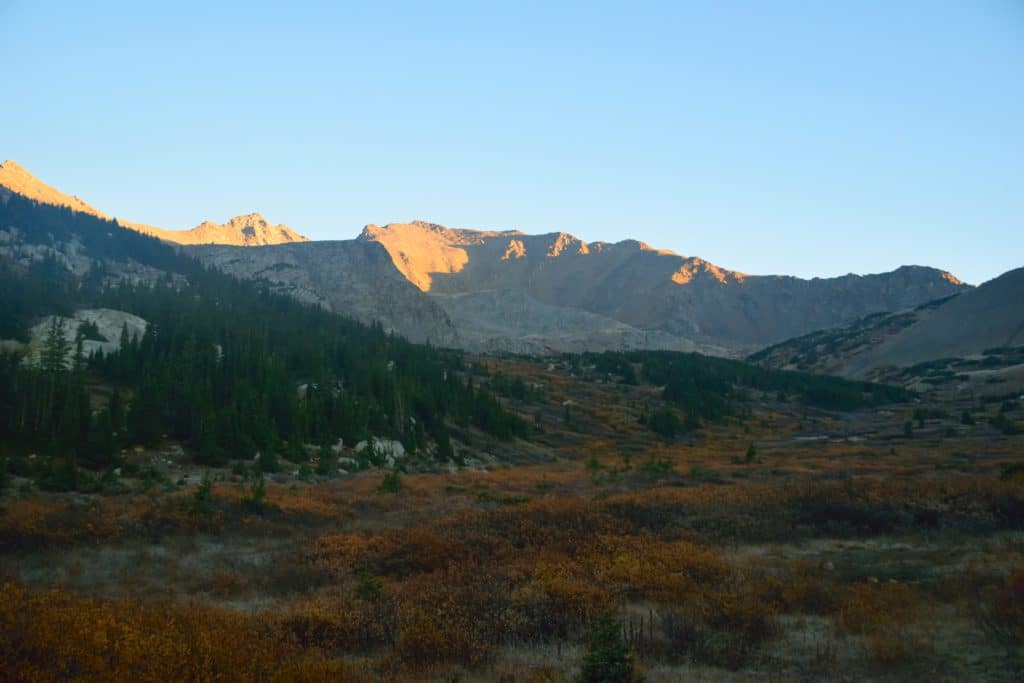
Eventually, with all my gear, I was on the trail following North Cottonwood Creek, which would snake next to the trail for the first several miles. After about 1.5 miles, the trail finally crossed said creek and reached a fork in the trail shortly after. Here, I took a right to continue to Mt Harvard & Mt Columbia.
I was a few miles into my hike of Mt Harvard & Mt Columbia when the sun started to rise behind me. It looked beautiful, but the trees that surrounded me blocked most of my view. I took in a few minutes of the beauty, grateful to see another colorful sunrise in complete silence, in a very peaceful place.
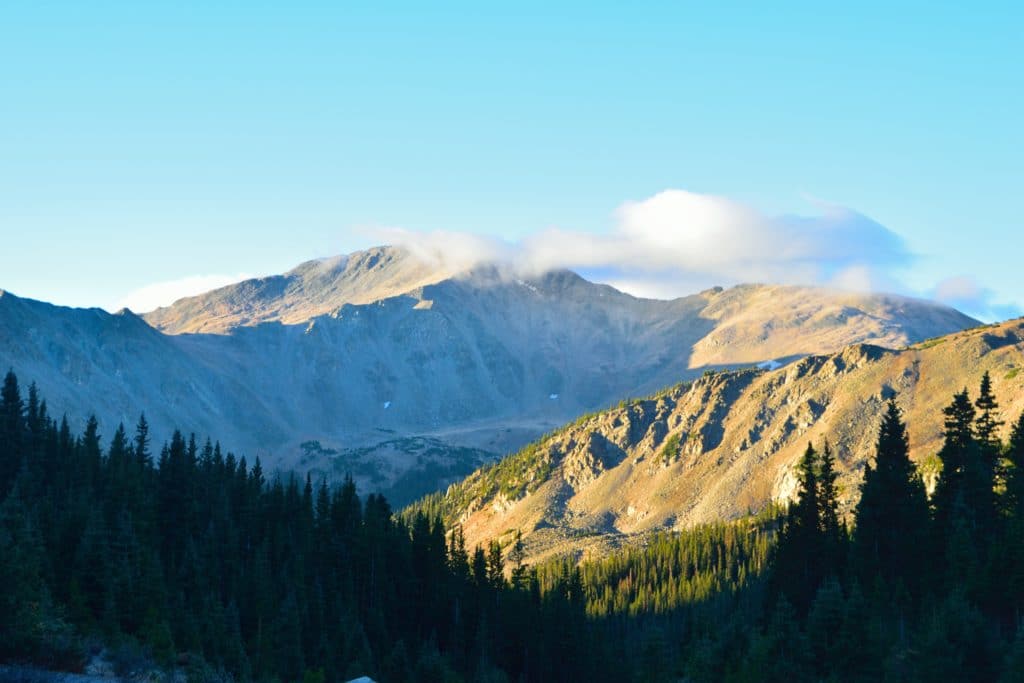
I continued hiking when I reached another fork in the road (about 3.6 miles). I later found out that heading straight took me to Mt Harvard, while heading right would have taken me up to Mt Columbia. I took an educated guess based on my elevation and position relative to Mt Harvard to continue straight. The first 4 miles or so up to Mt Harvard were very straightforward and relatively flat. I had covered them in a little over an hour and was feeling great about myself. At this point, the sun was up and I enjoyed the low hanging clouds over some of the nearby peaks. I broke tree line shortly after and the trail snaked its way by Mt Columbia (to my right) and worked its way through some willow fields until it eventually it got to the doorstep of Mt Harvard.
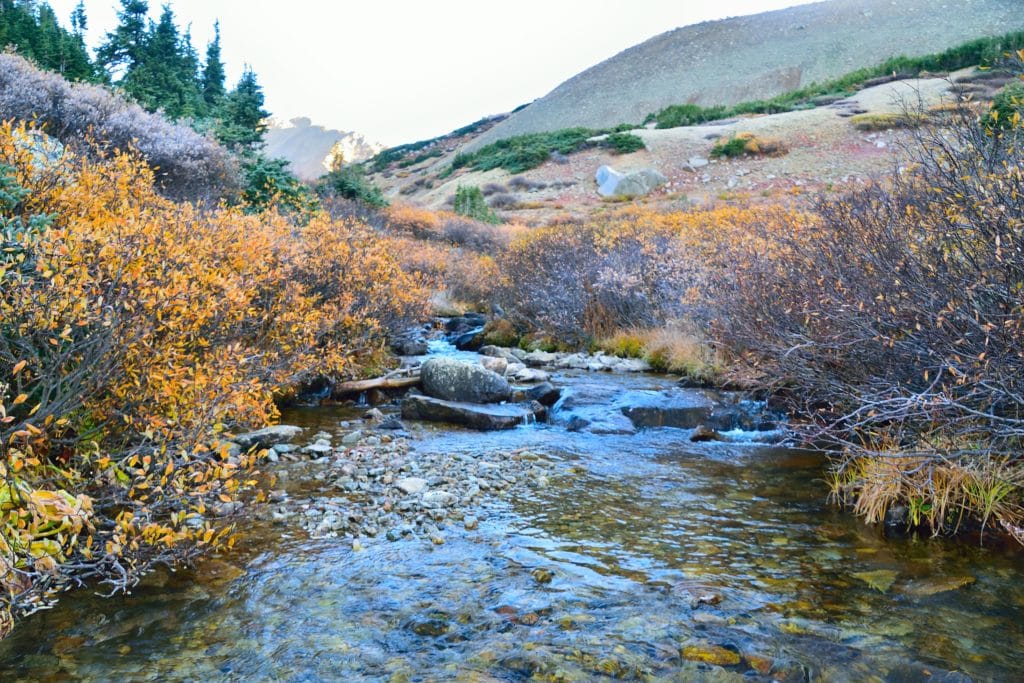
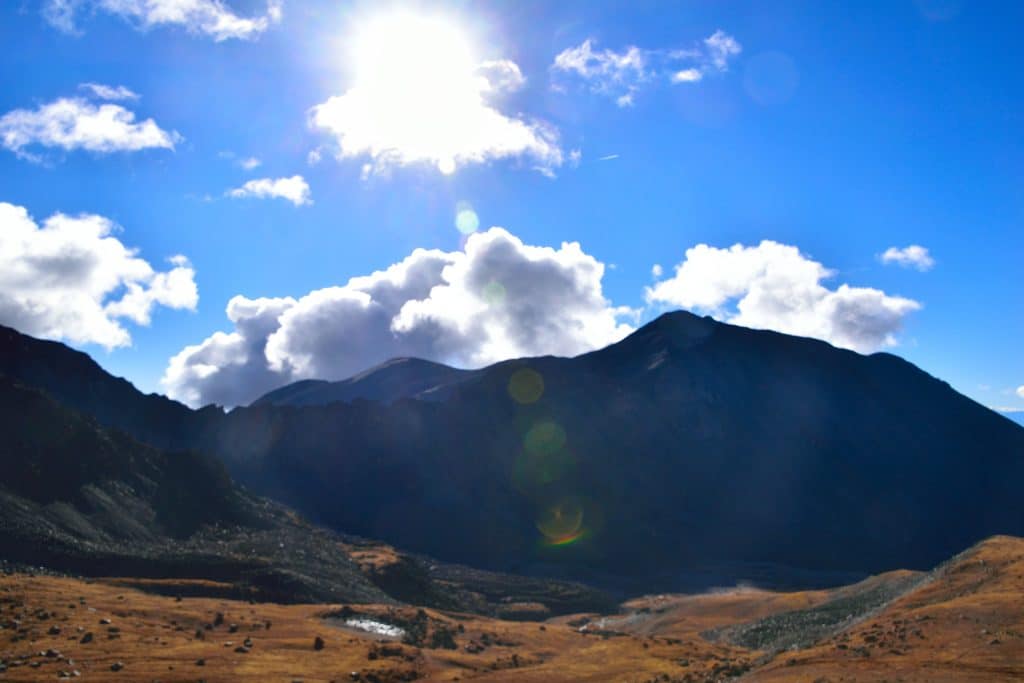
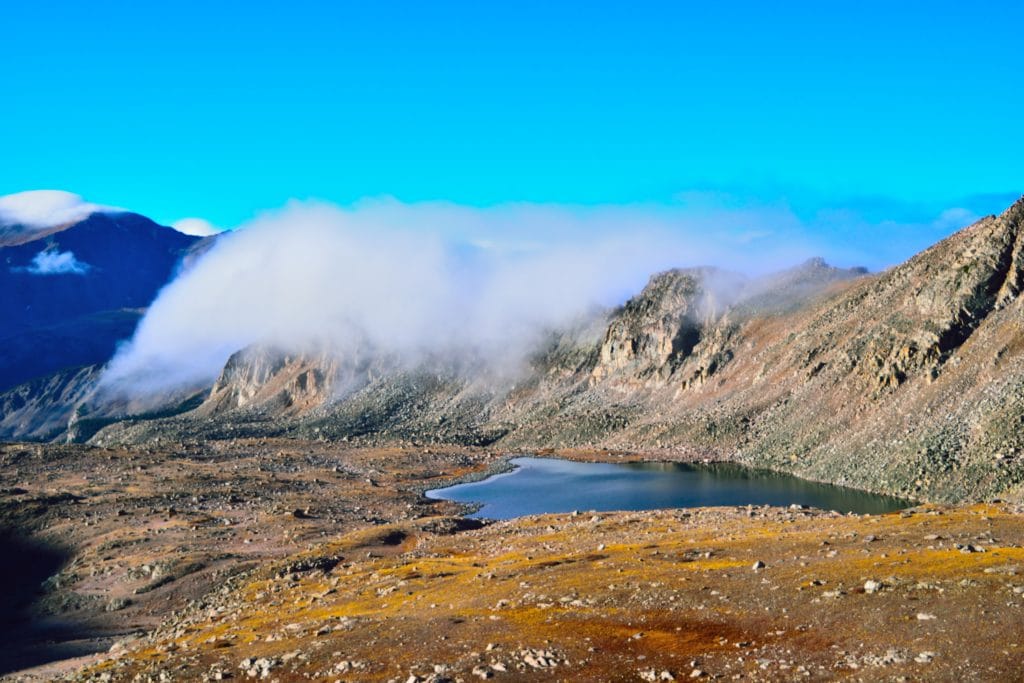
The remaining trail to Mt Harvard’s summit would slowly work its way through a couple of false summits and zigzaged its way up the steep south slopes of the mountain. Towards the top, there was a small rock scramble that was harder than I expected, but was a pleasant surprise from what was a somewhat monotonous dirt trail.
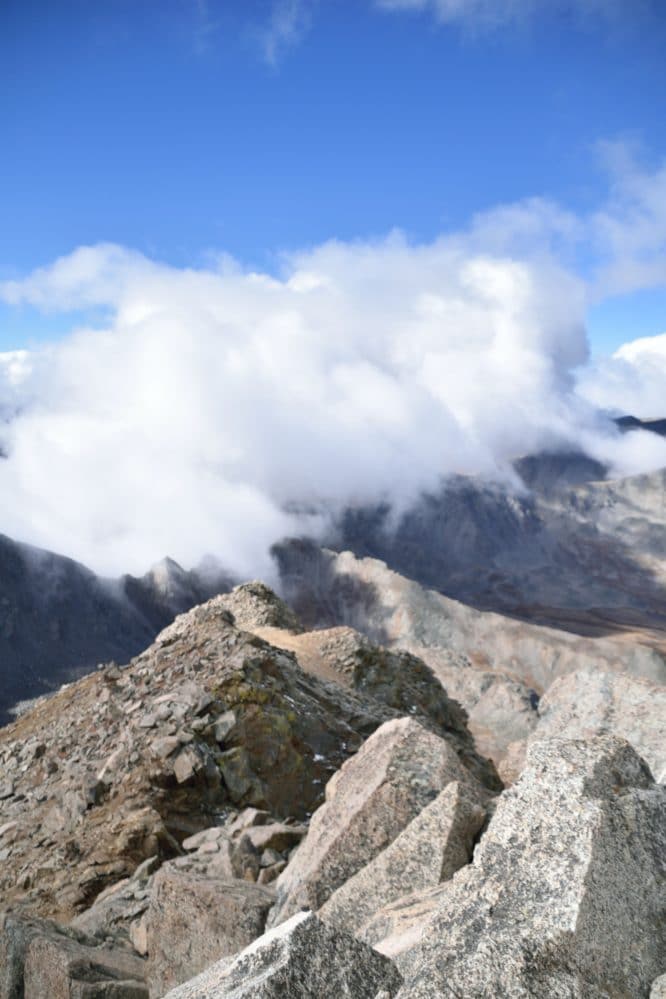
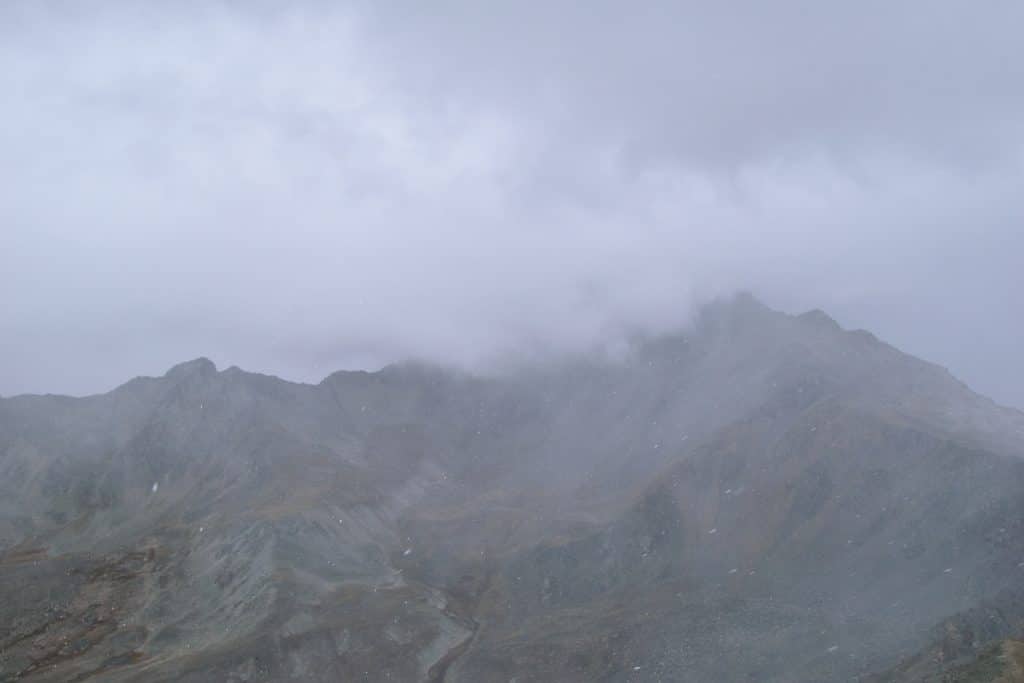
I reached the summit of Mt Harvard (approximately 6.9 miles) in about 4.5 hours. When I first arrived to the summit, I had it completely to myself, so I snapped some pictures and had a quick snack. The clouds had been moving in a funky pattern all day and after a few minutes the summit of Mt Harvard & Mt Columbia in the distance were both completely enveloped in clouds. These conditions were not ideal for shooting “summit view” scenery, but were absolutely breathtaking. For several minutes, I forgot I was sitting on a 14,000 foot mountain and was transported to a land in the clouds.
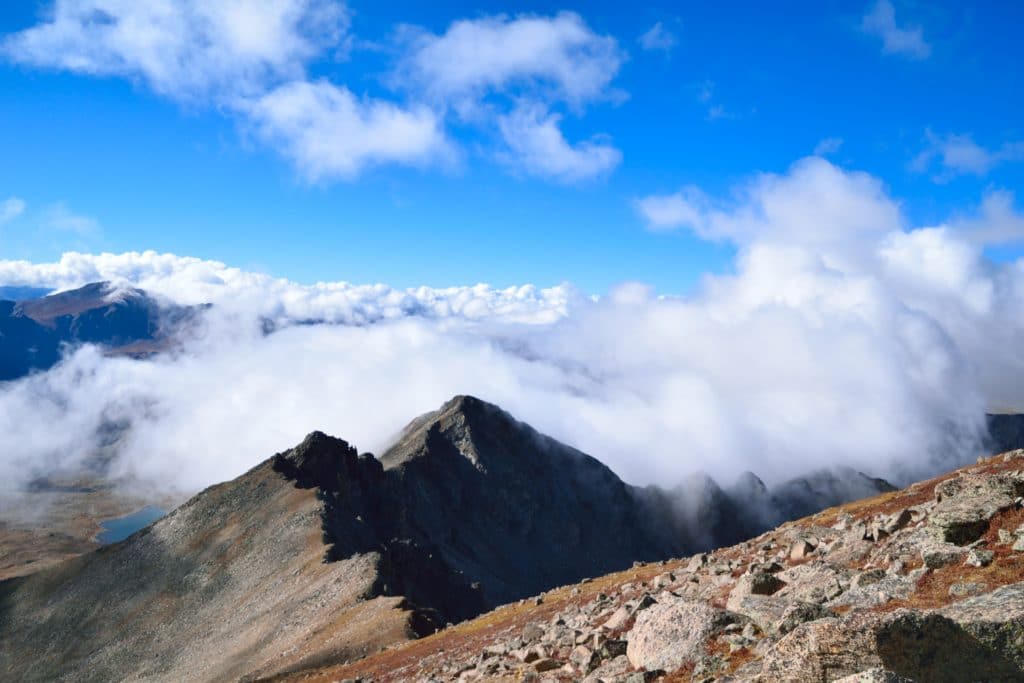
I enjoyed the clouds for several minutes and hoped that they would move on. While it was a cool effect at first, I soon realized that these same clouds were completely covering my next 3 miles to Mt Columbia.
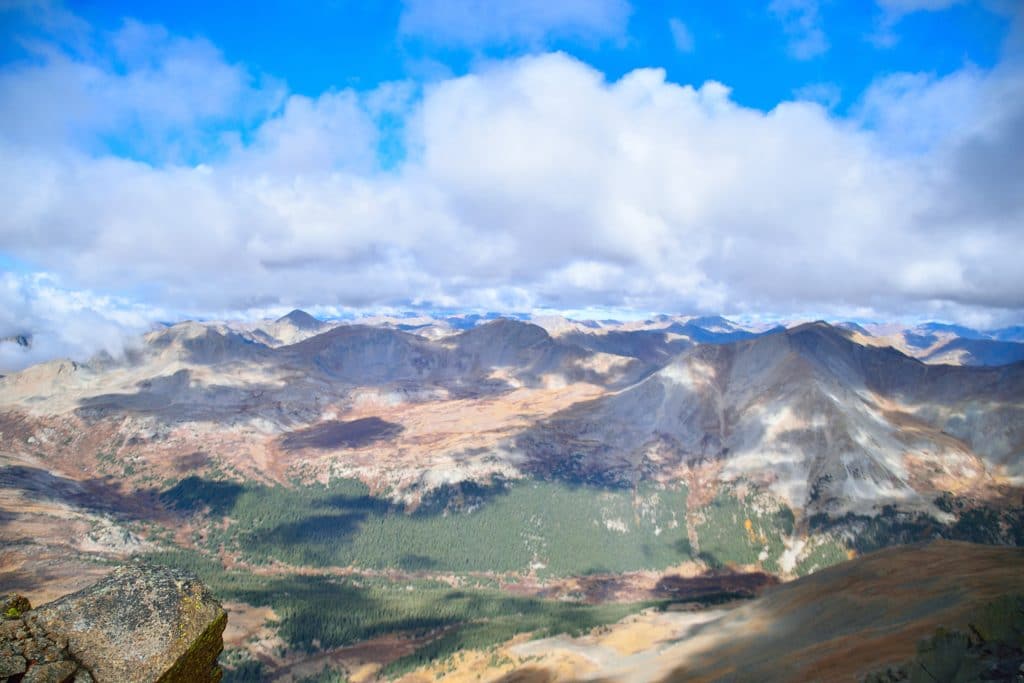
Mt Harvard to Mt Columbia Traverse
From Mt Harvard, I took my time descending down the rocky summit to the dirt trail on the ridge line that was a couple hundred feet below. The trail was very easy to follow for a while and though I took the left (northeast) side around a rock outcropping, most people stay to the right. I reconnected with the trail and continued down a gully that offered piss poor footing. From this point, the trail was again pretty easy to follow and eventually brought me to a large open field about halfway in between Mt Harvard & Mt Columbia.
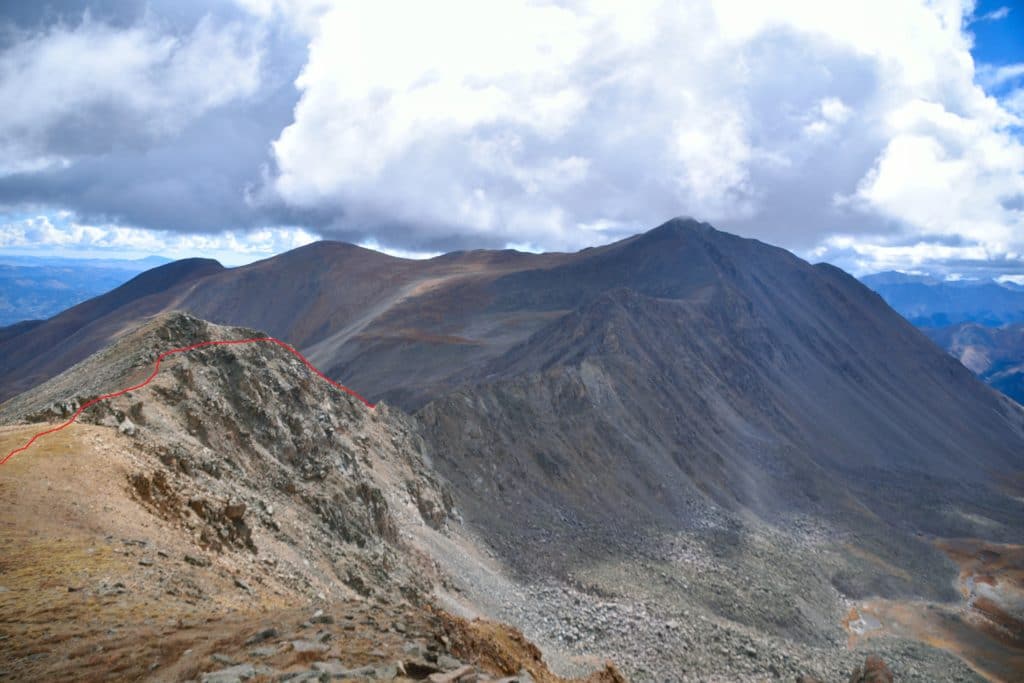
I followed the trail down this field and stayed on it as it worked it was to the left side of the ridge. This is where things got tricky. I had read to avoid this steep gully like the plague, so when I arrived to said gully I tried to stay to the north (left) of it. I made my own trail, hopping down from rock to rock and slowly descended into the gully. I was constantly looking at my watch to make sure I did not descent too far and when my altimeter read 12,900, I stopped to look for the trail to the south. What I read beforehand and what I was now looking at, were completely different scenarios. Once you descent into the gully, you still have a lot of work ahead of you with multiple sections of boulder scramble/hopping, route finding and loose trail conditions.
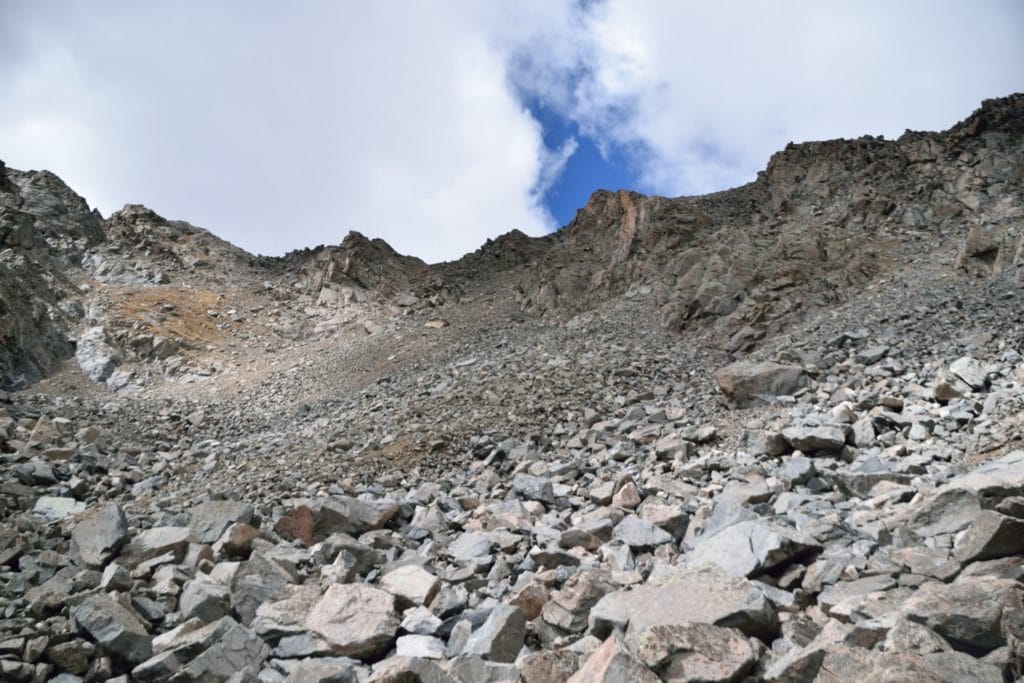
I was now staring at a massive boulder field with HUGE boulders separating me from the north summit of Mt Columbia. I did my best to b-line it straight to Mt Columbia’s north ridge, but there was no resemblance of a trail. Eventually, I worked my way through the boulder field and found some cairns that instantly disappeared. In the distance I could see the trail on the ridge of Mt Columbia so basically said “fuck it” and just went straight to that point. From the looks of it, the other hikers around me like that plan because when I turned around, I saw several people following my same route.
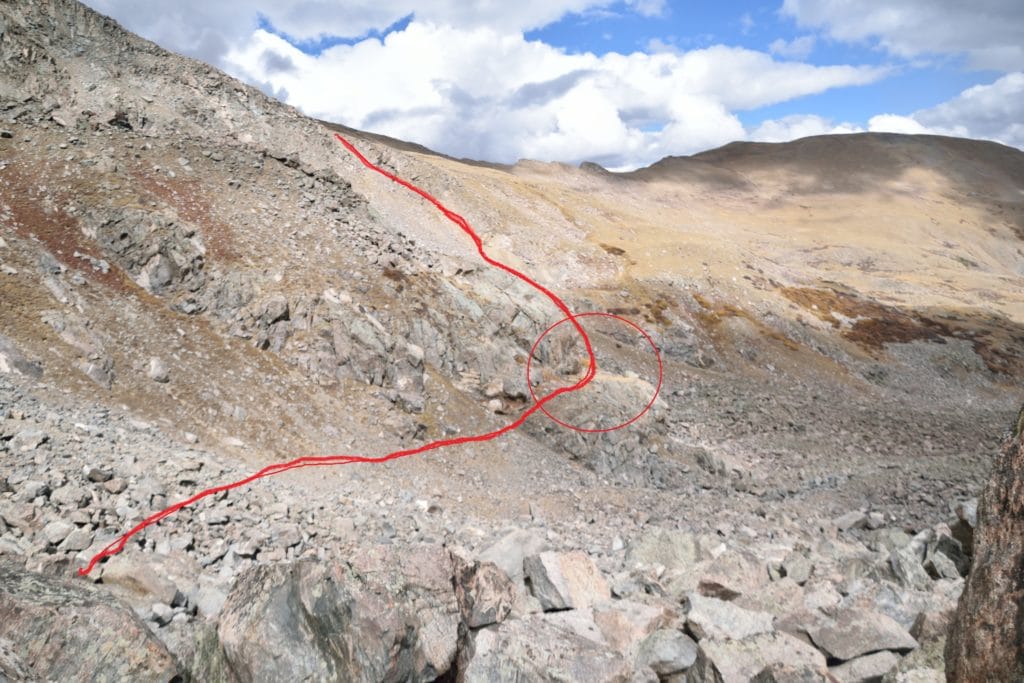
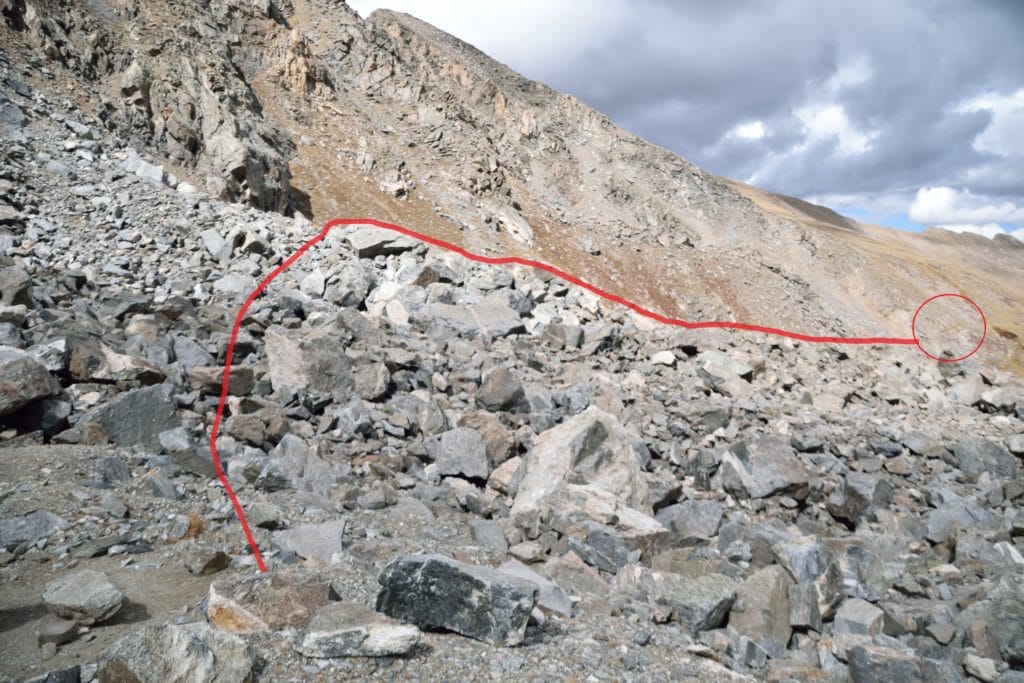
After what felt like forever, I arrived at the doorstep of Mt Columbia and followed the trail the remaining way to the summit. I was pumped because I had made it, but so pissed about how long it had taken me. I shared the summit with a few other hikers and we all complaining about how much different that traverse was described on paper/websites. Our enjoyment was short lived because no less than 5 minutes on the top, it started snowing. I was in no mood to be snowed on at this point, so just decided to head down.
Mt Columbia
Editors Note: The trail down from Mt Columbia has been improved as of 2020, so my entire experience here is irrelevant. There is now a very solid and very easy to follow trail from the summit of Mt Columbia, all the way back to the trail junction with Mt Harvard’s approach.
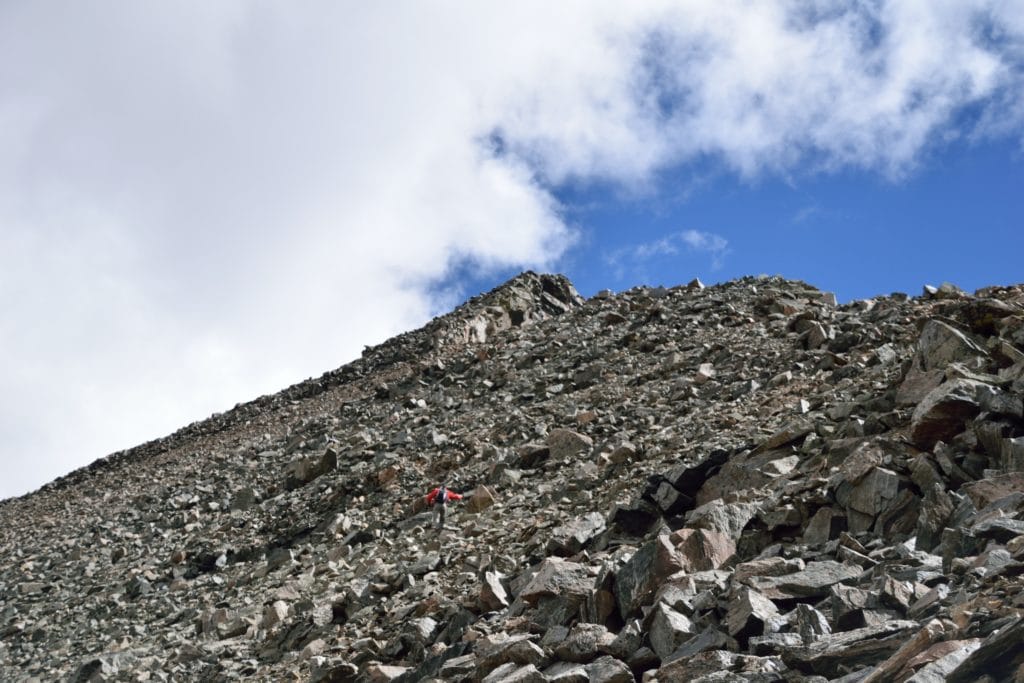
After FINALLY reaching solid dirt and trees, I nearly ran the 3 or so miles back to the car. Mt Harvard & Mt Columbia were in the books and I vowed to never return to these horrible pair.
In summation, if you want to hike in this area, I would recommend Mt Harvard. If you must hike Mt Columbia, bring a map and this blog with pictures so you can help navigate the pain in the ass traverse.

2 thoughts on “Mt Harvard & Mt Columbia 14er Hike Trail Guide”
Great post Thanks for sharing.
If you guys ever need an extra mountain buddy reach out!